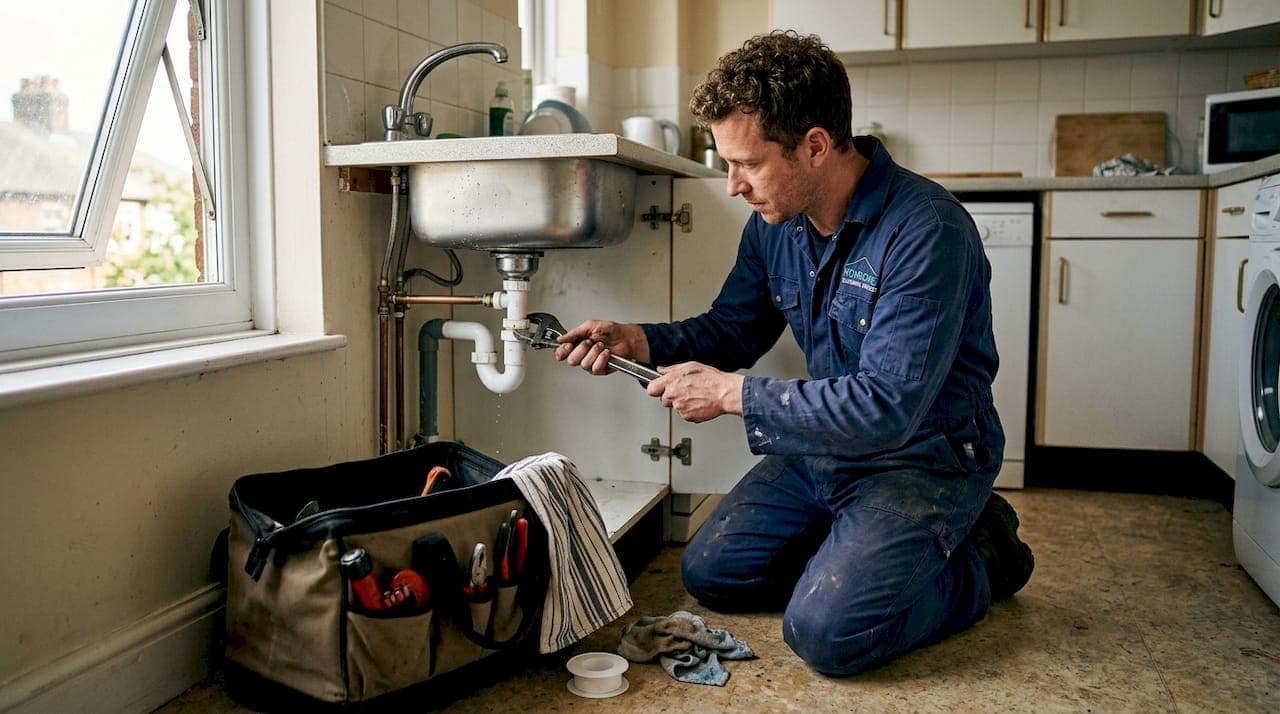
A dripping pipe under the sink is one thing. A burst pipe spraying water across your kitchen floor at 11pm is something else entirely. Either way, the clock starts ticking the moment you spot a leak, because mould can set in within 24 to 48 hours and structural damage follows fast. This guide walks you through exactly what to do, from the first panicked moment to a lasting repair, so you can protect your home and know when to call in the professionals.
Table of Contents
- Immediate actions when you find a leak
- Essential tools and materials for pipe repair
- Temporary fixes: stop the leak safely
- Permanent pipe repairs: solutions by pipe type
- Tough cases: hidden, external, and high pressure leaks
- Check your repair and prevent future leaks
- Get professional help for peace of mind
- Frequently asked questions
Key Takeaways
| Point | Details |
|---|---|
| Act fast | Switch off your stopcock and protect your home at the first sign of a pipe leak. |
| Temporary fixes | Quick solutions like silicone tape or epoxy putty can buy crucial time before a professional repair. |
| Match fix to pipe type | Permanent repairs depend on whether your leaking pipe is copper, PVC, or PEX—use the right materials. |
| Know your limits | Call a professional for leaks that are hidden, complex, or near electrics to avoid bigger damage. |
| Prevent future issues | Insulate pipes, monitor water pressure, and act quickly to stop new leaks from starting. |
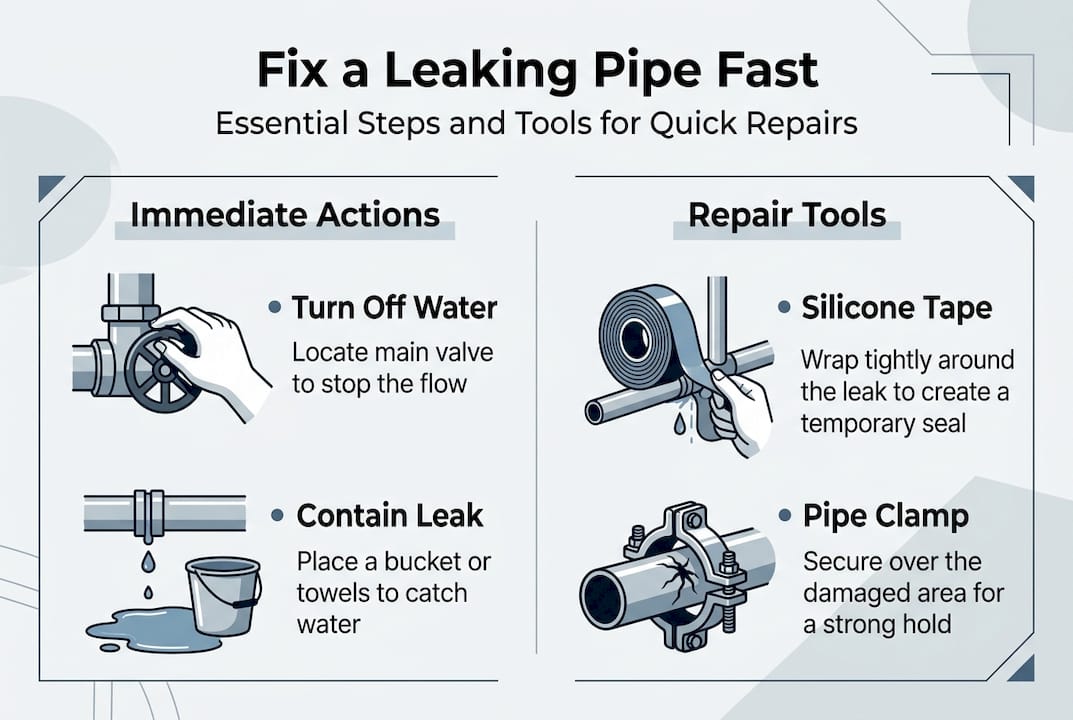
Immediate actions when you find a leak
The first few minutes matter most. Before you reach for tools or search for the source, you need to stop the water and make the area safe.
Follow these steps in order:
- Locate your main stopcock and turn it off immediately. It is usually under the kitchen sink or where the supply pipe enters the property.
- Open your cold taps to drain the system and relieve pressure. As WaterSafe advises, avoid switching on hot taps or any electrical appliances near the leak.
- Place towels and buckets under the leak to protect your floors and any belongings nearby.
- Switch off your boiler and heating if it is safe to do so. For guidance on emergency heating safety, it is worth knowing how your system works before a crisis hits.
- Stay away from electrics near water. If there is any doubt, do not touch switches or sockets. Know when to call an emergency plumber rather than risk electrocution.
Remember: Water and electricity are a dangerous combination. If the leak is near a fuse box, consumer unit, or any wiring, leave the area and call a professional immediately.
Once you have taken emergency action, you are ready to gather what you will need for a temporary fix or permanent repair.
Essential tools and materials for pipe repair
Having the right kit to hand makes the difference between a quick fix and a worsening flood. The tools you need depend on your pipe type, so it helps to know what you are working with before you start.
Common pipe types in Thames Valley homes:
- Copper: Found in most older properties. Durable but can corrode or crack at joints.
- PVC: Common in waste and drainage runs. Lightweight and easy to cut.
- PEX (cross-linked polyethylene): Increasingly used in modern installations. Flexible and frost-resistant.
| Pipe type | Temporary fix | Permanent repair tool |
|---|---|---|
| Copper | Pipe repair clamp, silicone tape | Compression coupler, push-fit fitting |
| PVC | Epoxy putty, silicone tape | Solvent weld cement, replacement section |
| PEX | Self-fusing tape, pipe clamp | Crimp fitting, SharkBite connector |
For temporary repair materials, epoxy putty, self-fusing silicone tape, and pipe repair clamps are your three best options and are widely available at hardware shops.
Basic safety kit every homeowner should have:
- Rubber gloves and safety glasses
- Dry cloths and a bucket
- A torch for working in dark spaces
- PTFE tape for sealing threaded joints
- A pipe cutter for clean cuts on copper or PVC
Pro Tip: Keep a small "leak kit" in your under-sink cupboard with silicone tape, epoxy putty, and a clamp. When a leak strikes at midnight, you will be glad it is there.
With supplies to hand, it is time to make a quick, temporary fix to control the situation until permanent repairs are possible.
Temporary fixes: stop the leak safely
Temporary repairs are exactly that: temporary. They buy you time, not a permanent solution. Used correctly, though, they can prevent serious water damage while you arrange a proper fix.
Before applying anything, clean and dry the pipe surface as much as possible. Even a small amount of moisture will stop epoxy or tape from bonding properly.
How to apply each temporary fix:
- Self-fusing silicone tape: Stretch the tape as you wrap it tightly around the leak, overlapping each layer by half. Start and finish at least 5cm beyond the damaged area. No adhesive is needed as it bonds to itself. Good for up to a few days on low-pressure pipes.
- Epoxy putty: Mix the two-part putty together until the colour is uniform, then press it firmly over the leak. Hold it in place for the time stated on the packaging. It sets hard and can last longer than tape, but it is not a permanent fix.
- Pipe repair clamp: Place the rubber pad over the leak, position the clamp around the pipe, and tighten the screws evenly. This is the most robust temporary option and works well on straight pipe sections.
As self-fusing tape, epoxy putty, and pipe clamps can provide a short-term solution for accessible leaks, they are ideal for buying time before a professional or permanent repair. For DIY emergency repairs in general, the same principle applies: stabilise first, then fix properly.
Warning: Temporary measures are not a substitute for a proper repair. Do not leave them in place and forget about them. Water will find a way through eventually.
Once the leak is controlled, focus shifts to making a lasting repair.
Permanent pipe repairs: solutions by pipe type
A permanent repair done correctly will outlast the pipe itself. Done incorrectly, it creates a second leak, often in a harder-to-reach spot. Take your time and follow the right method for your pipe material.
Repair methods by pipe type:
| Pipe type | Recommended method | Skill level |
|---|---|---|
| Copper | Compression or push-fit coupler | Beginner to intermediate |
| PVC | Solvent weld cement with replacement section | Beginner |
| PEX | Crimp fitting or SharkBite connector | Beginner to intermediate |
As outlined in this detailed repair guide, copper pipes suit compression or push-fit couplers, PVC uses solvent weld, and PEX works best with crimp or SharkBite fittings.
Step-by-step for a copper pipe repair using a compression coupler:
- Turn off the water supply and drain the pipe fully.
- Cut out the damaged section using a pipe cutter for a clean, square edge.
- Deburr the pipe ends with a file or deburring tool. This step is critical as rough edges cause leaks at the new joint.
- Slide the compression nuts and olives onto each pipe end before inserting the coupler.
- Hand-tighten the nuts, then use a spanner to tighten a further one and a quarter turns. Do not over-tighten.
- Turn the water back on slowly and check for drips before finishing.
Pro Tip: Push-fit fittings (such as SharkBite) are faster and require no tools beyond a pipe cutter. They are a brilliant option for permanent pipe repair in tight spaces where a spanner will not fit.
Common mistakes to avoid:
- Over-tightening compression fittings, which can crack the olive and cause a new leak
- Using the wrong coupler size or type for your pipe material
- Skipping the pressure test before closing up walls or floors
If the leak is at a joint, behind a wall, or involves soldering, it is worth choosing a qualified plumber rather than risking a bigger problem.
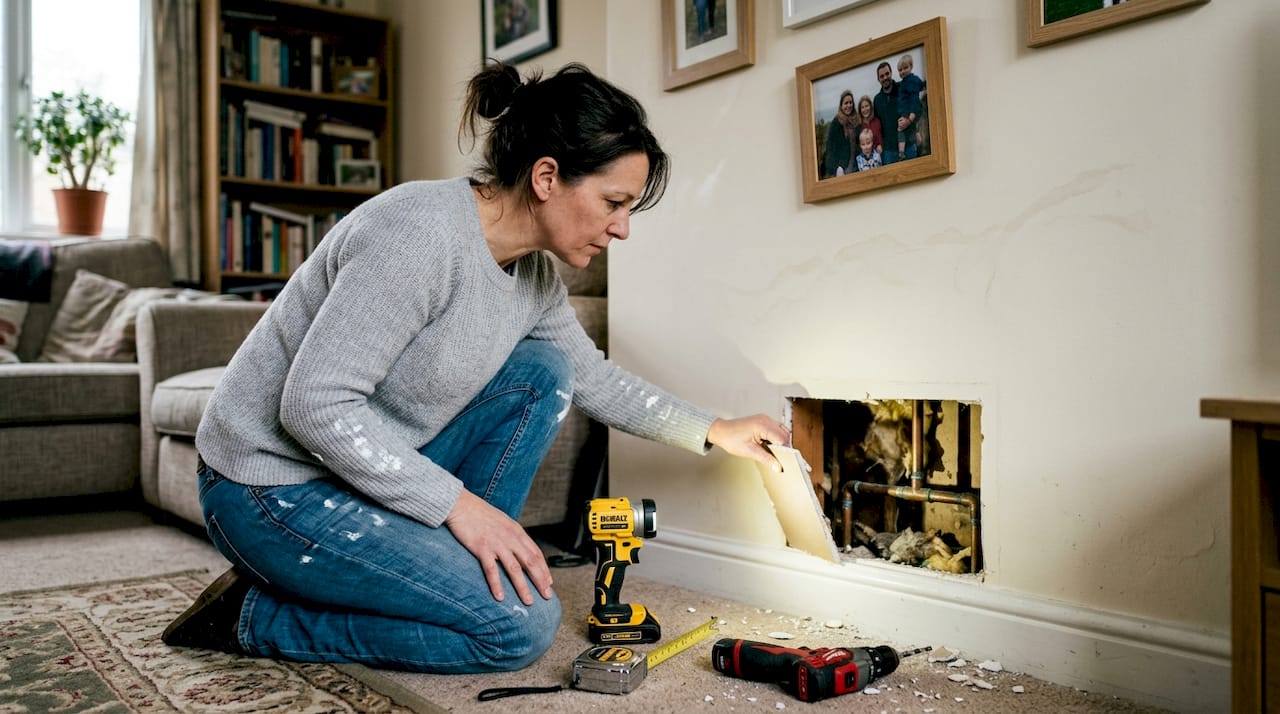
Tough cases: hidden, external, and high pressure leaks
Not every leak announces itself with a puddle on the floor. Some of the most damaging leaks are the ones you cannot see.
Signs you may have a hidden leak:
- Damp or discoloured patches on walls, ceilings, or floors with no obvious cause
- A musty or earthy smell in a room that is otherwise dry
- Your water meter moving when all taps are off
- An unexplained rise in your water bill
- Low water pressure throughout the property
For hidden leaks, specialist detection tools such as moisture meters and thermal imaging cameras are often needed to locate the source without tearing out walls. Our non-invasive leak detection service uses exactly these methods to find leaks with minimal disruption.
High pressure pipes may require a Pressure Reducing Valve (PRV) to prevent recurring leaks. If your mains pressure is consistently high, this is worth investigating with a professional.
For leaks on outdoor supply pipes, the responsibility can sometimes fall to your water company rather than you. Contact them first before digging up your garden. Our trace and access service can help identify whether the leak is on your side of the boundary.
Frozen pipes are a common winter problem across the Thames Valley. To thaw a frozen pipe safely, apply gentle heat using a warm cloth or a hairdryer on a low setting. Never use a blowtorch. If the pipe has already split, turn off the water and call our 24hr leak detection team.
Check your repair and prevent future leaks
A repair is only as good as the test that follows it. Rushing this step is how small mistakes turn into big problems.
How to test your repair properly:
- Turn the water supply back on slowly, not all at once.
- Watch the repaired area closely for 5 to 10 minutes. Look for drips, weeping joints, or any sign of moisture.
- Run water through the pipe at normal pressure and check again.
- Check the surrounding area for damp over the next 24 hours, particularly if the leak was near a wall or floor.
- If anything looks wrong, turn the water off again and reassess before the problem worsens.
Pro Tip: Take a photo of your repair before closing up any access panels or boxing in pipework. If something goes wrong later, you will know exactly where to look.
Preventing leaks in the future:
As WaterSafe recommends, insulating exposed pipes, monitoring system pressure, and acting quickly at the first sign of a problem are the most effective steps you can take. For preventing leaks outdoors, lagging external pipes before winter is essential in the Thames Valley where temperatures regularly drop below freezing.
For broader Thames Valley plumbing tips, keeping an eye on your water pressure and scheduling annual checks on older pipework can catch problems before they become emergencies.
Get professional help for peace of mind
Sometimes a leak is simply beyond a DIY fix, and that is completely fine. Hidden pipes, complex joints, and high-pressure mains repairs all carry real risks if handled without the right training and tools.

At 999Plumber, we cover the Thames Valley 24 hours a day, 7 days a week, with no call-out charge and a no fix no fee promise. Whether you need a 24hr plumber in Newbury or an emergency call out anywhere across the region, our experienced engineers can be with you fast. There is no need to sit with a bucket under a dripping pipe all night. Simply book an emergency plumber online in minutes and we will take it from there.
Frequently asked questions
What is the fastest temporary fix for a leaking pipe?
Self-fusing silicone tape or a pipe repair clamp can be applied quickly and are suitable for most small, accessible leaks. Both are available at most hardware shops and require no specialist skills.
When should I call a plumber instead of repairing a leak myself?
Call a professional if the leak is hidden, near electrics, or involves joints, soldering, or gas pipes. DIY is viable for small, accessible leaks but the risks increase significantly for complex or concealed repairs.
What causes most pipe leaks in Thames Valley homes?
The main causes are frost damage in winter, wear at joints, old or uninsulated pipes, and high water pressure. UK homes face leaks most often from winter bursts and pressure-related failures.
How do I spot a hidden leak inside a wall or floor?
Look for new damp patches, musty smells, or an unexplained rise in your water bill. Non-invasive detection tools such as moisture meters and thermal cameras may be needed to pinpoint the exact location.
How can I prevent future leaks?
Insulate exposed pipes before winter, keep water pressure between 50 and 70 psi, and fix any leaks as soon as you find them. Monitoring water pressure and insulating vulnerable pipes are the two most effective preventive steps for Thames Valley homeowners.